
Making a Wedging Table…From Scratch!
Hello!
I wanted to share with you one of my most recent exploits…building a wedging table from scratch! I was mostly motivated to do this by all the clay that I have amassed over the past couple years, with the intention of recycling it. However, I have not managed to find a surface that worked as well as plaster to easily dry out my stored clay. Plaster wedging tables and bats can be expensive, so I decided to take on this project with the intent of saving a little money and doing it myself. Full disclosure, I enlisted lots of help from my father, who dabbles in woodworking and has built many shelves, cabinets, and other projects around the house.
The first order of business on this project was a quick google search. I found two helpful references, which I included below. My table ended up as a mix of both.


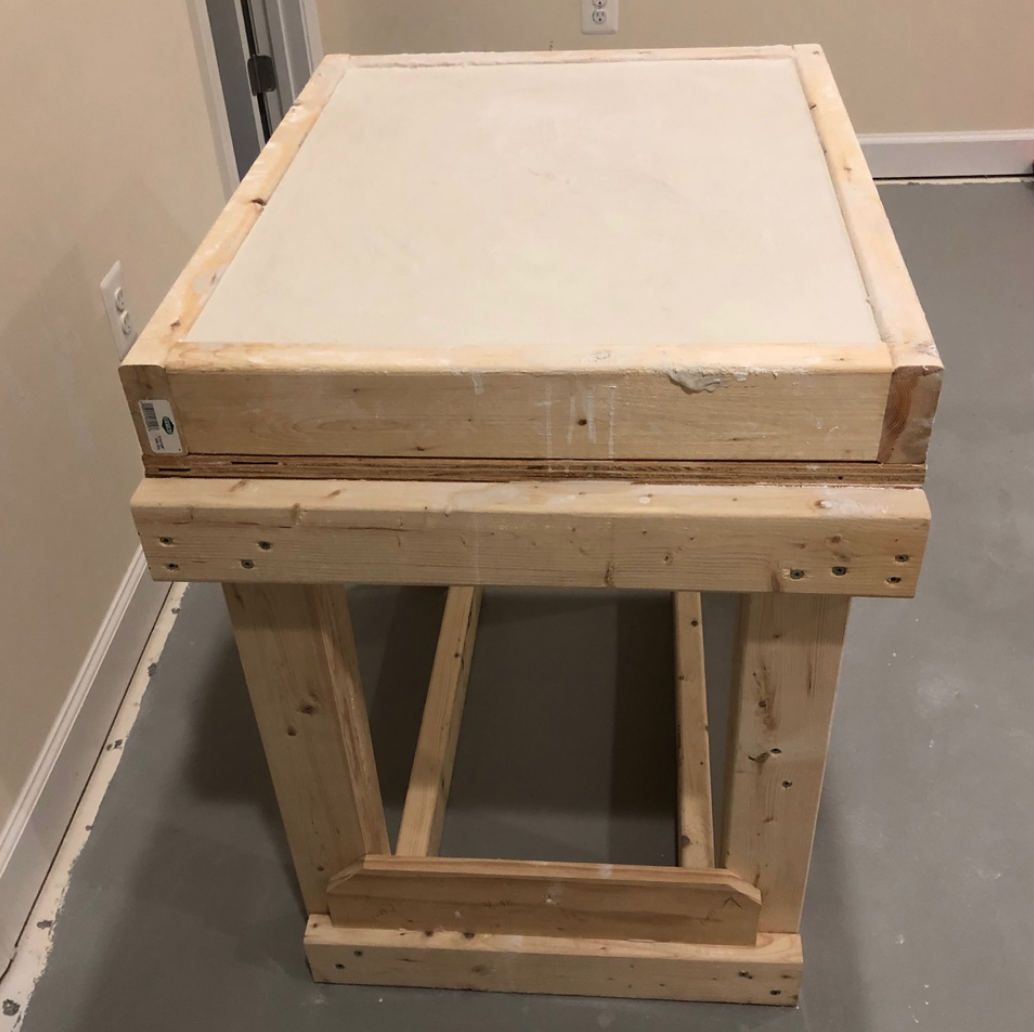
The design that I ended up using was essentially a small table with a box on top. The idea is that if I need to replace the plaster over time (if it becomes cracked or gouged), I can unscrew the top “box” and remake the top plaster piece.
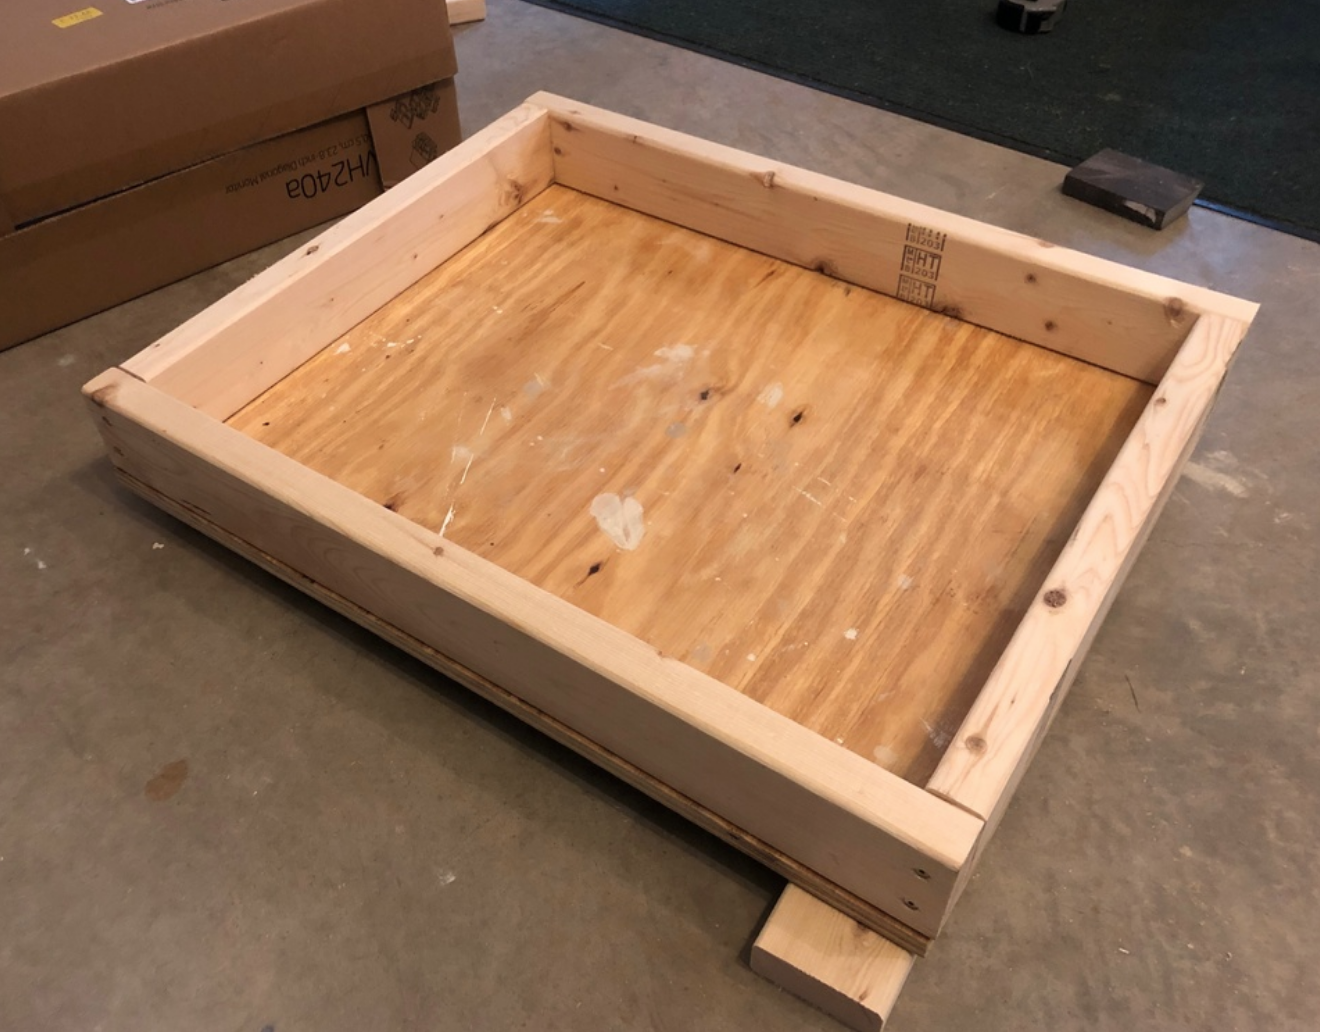
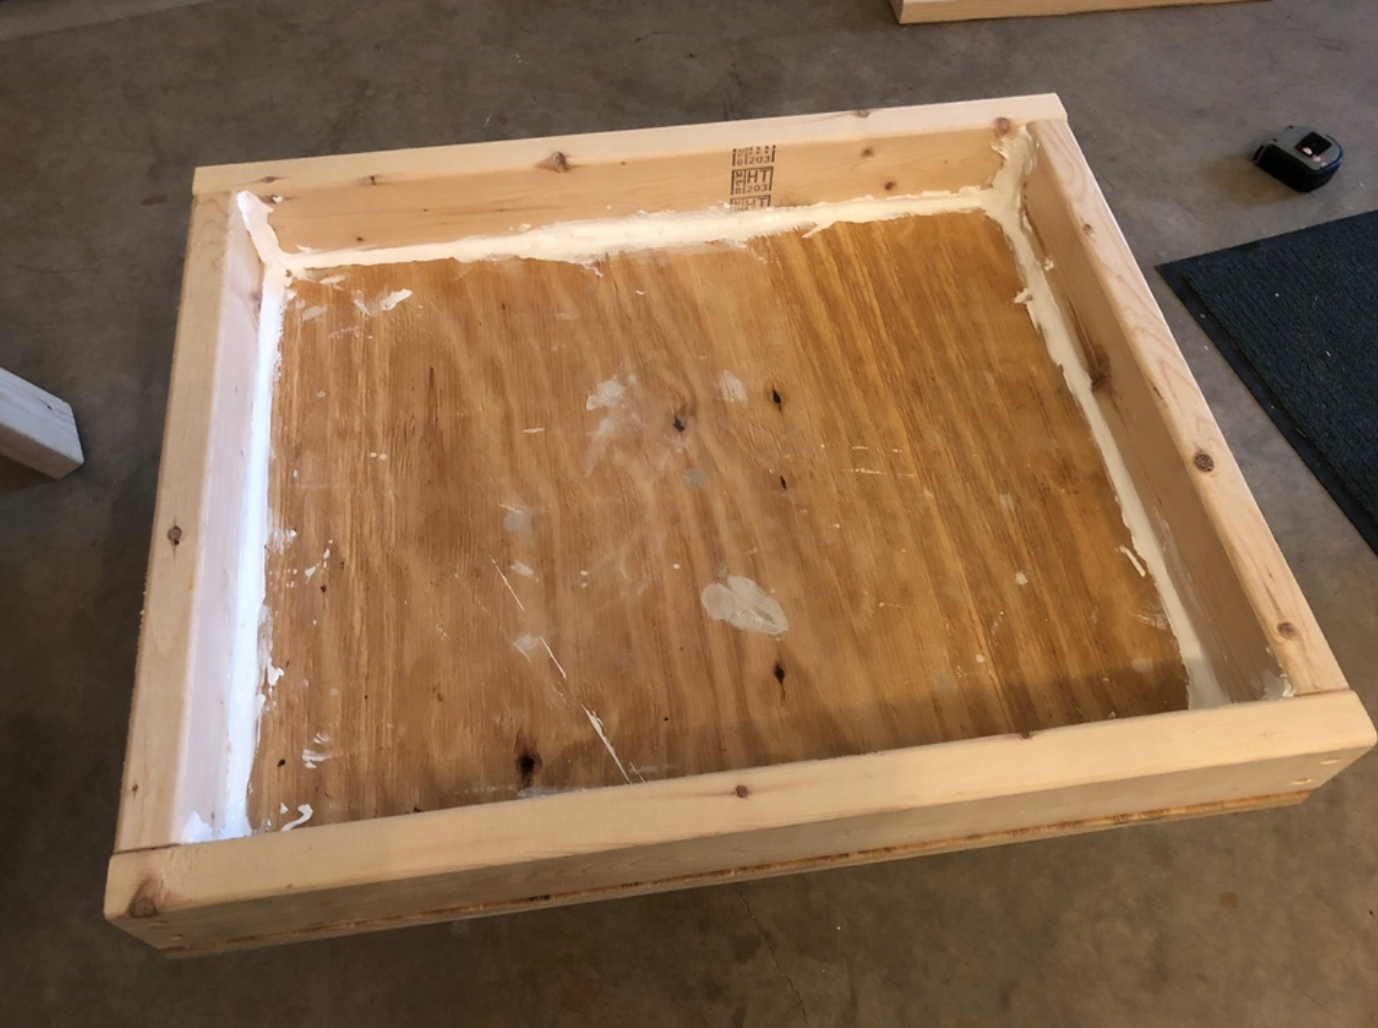
Using a frame of 2x4’s and 1/2 in thick plywood as a base, the box and table pieces are shown above separately and together. We couldn’t find 4x4’s at our local hardware store for the legs (everyone must be working on their quarantine projects), so 2 2x4’s sufficed. The box and table were attached together with wood screws before I poured my plaster. One other important step was caulking the interior of the box, where I would pour the plaster, to avoid leaking.
The overall measurements of the table were:
Length: 30 in
Width: 24 in
Height: 33 in


I used DAP brand Plaster of Paris, which you can pick up at any hardware store. I have used plaster before, however I am far from an expert. I saw someone use a trash bag online for an easier clean up, which it helped with, however I feel that the dark bag hindered my ability to see what was going on in the bucket and got in the way of stirring. I initially put too much water in my bucket and ended up with very watery plaster. Overall, it took 3 trips back and forth mixing and pouring. I made sure to score the plaster after each trip to ensure that the next layer would blend well (and I was fast!). I used almost 50 lbs of dry plaster mix for that 24”x30” box.
Another warning….it was very messy. Do with that information what you will! : )
I had seen in one of the guides that the plaster could be poured from the bottom with the table upside down and laid on a flat, slick surface, like a mirror. I didn’t have a surface like this, and with my chosen design, I made the decision not to do it this way, knowing that my top might not be completely flat. I did make sure that the table itself was level before my pouring, however with some slight indentations and finger marks (*oops*) from trying to smooth any last minutes bubbles coming to the top, it isn’t perfect. I’m ok with this because I’m going to use the table for a lot of recycling and wedging, but if you want perfection I think that the upside down mirror trick might be your best shot. For me though, it’s perfect, and I’m super happy with the result!.
…..
THE FINAL PRODUCT!

I wiped/scraped the sides of the table clean of plaster drips, and might paint the wood when it drys, but we’ll see! The plaster has also taken over 3 weeks to dry. I think it’s because it is so deep (around 3.5 in or the thickness of the 2x4) and thick. However as soon as I feel sure that the plaster is dry I’m ready to gear up and recycle some clay!!
If you have any questions about my process, feel free to reach out in the Contact page of our website, and I’ll try to get back to you as soon as possible if I can help!
Thanks for reading,
Olivia